
I was given the task to build and assemble a Volks F-12 Miisha MSDG kit by my sister. I don't recall when the mold was discontinued as part of the FCS at the Volks showrooms, but I do know this kit is circa 2001, so it's a 10 year old kit, and I have heard that old Volks dolls lack posing ability and have other short comings.
This will be my 3rd kit from Volks to build so this is going to be another adventure!
This is going to be a semi-tutorial and visual guide. I did document a lot of steps, but I didn't edit every single picture. There are 73 photos in this post, so be warned, it might take a while to load!
Forgive the lighting and the focus on the camera. After I mounted it on the tripod, it started to have a mind of it's own. I'll try to explain what is going on in the picture as best as I can.
I'm not a professional, but I sure seem to like to build these kits, so if you have any questions or suggestions, don't hesitate to leave a comment :)

Miisha's Box

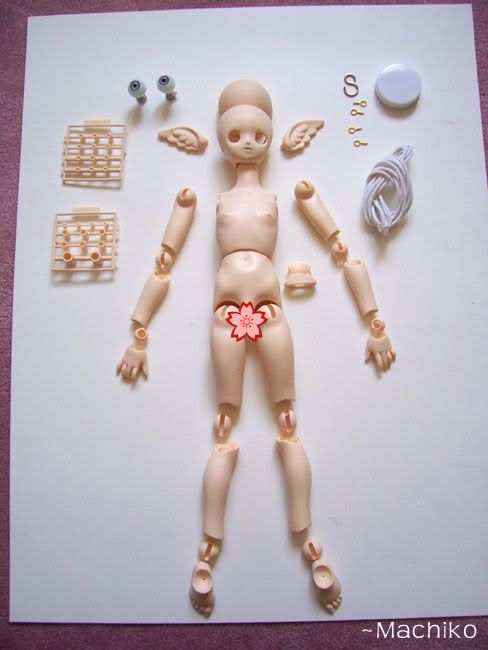
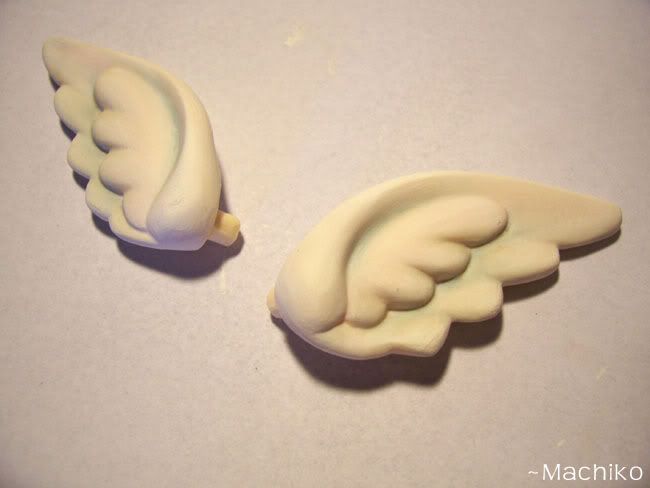
All of her parts laid out from the box. It's all the usual stuff I normally get when I build a kit; eyes, putty, elastic cord, however this time I got individual screws, these plastic tube inserts that remind me of something from a Gundam kit, only ONE "S" Hook, and these strange additional parts that I wasn't sure what they were. . .(*Located on the bottom left hand corner in the large zip lock bag)
So I took the pieces out of their bags and started laying them out to visualize where all the pieces come together and what not.
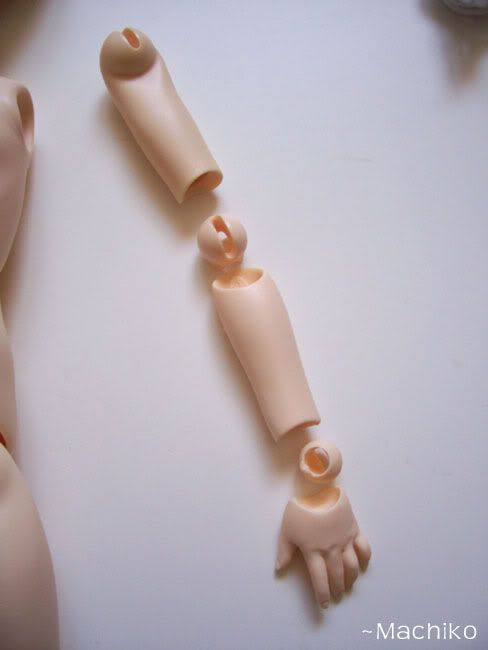
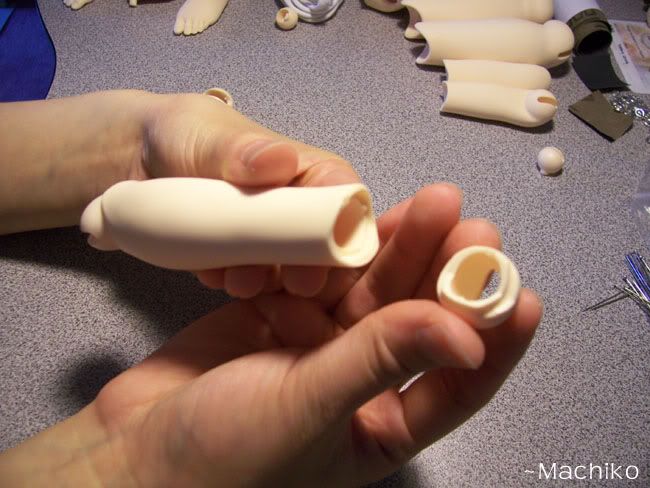
I noticed there's an extra ball joint that my newer kits never had, but it turns out that those mysterious pieces were just going to add more work for me.
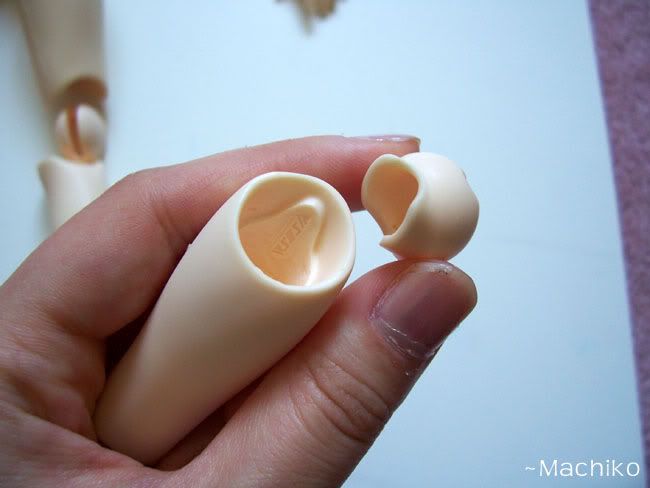
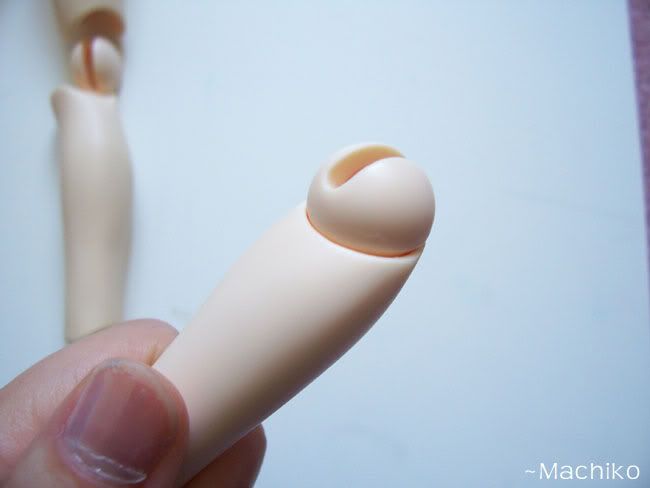
They slot in place with each other! The new kits bypass this completely, it's all cast in one piece now instead of two. Means I'm going to have some gluing on my hands...
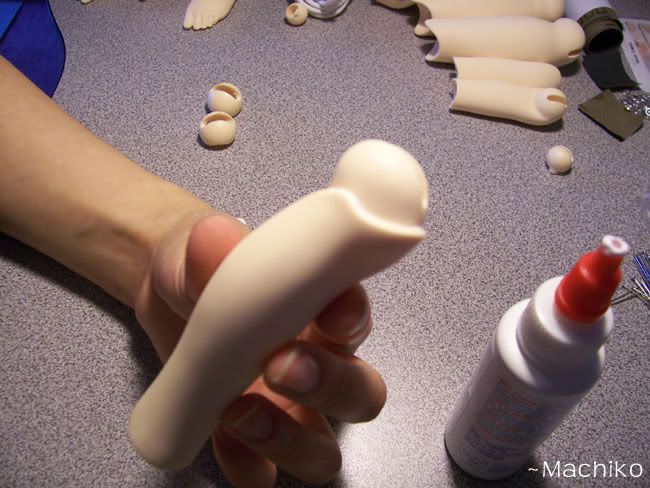
I thought the extra detail with the VKMSD was very nice on the inside of the forearm, but it's kind of a loss, since once I glue that elbow joint in place you don't see it at all. At least I know it's authentic, as all the pieces are marked with the logo.
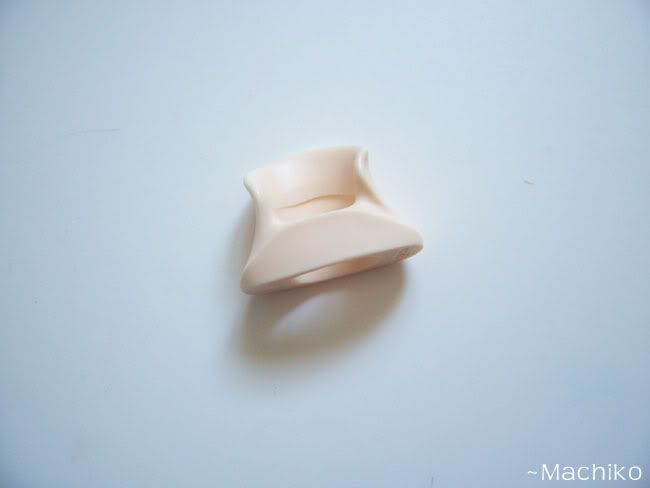
This piece really baffled my mind. I had no clue what it was until I opened the booklet and stared at the diagram. Turns out it's part of the torso/hip piece of the doll. . .
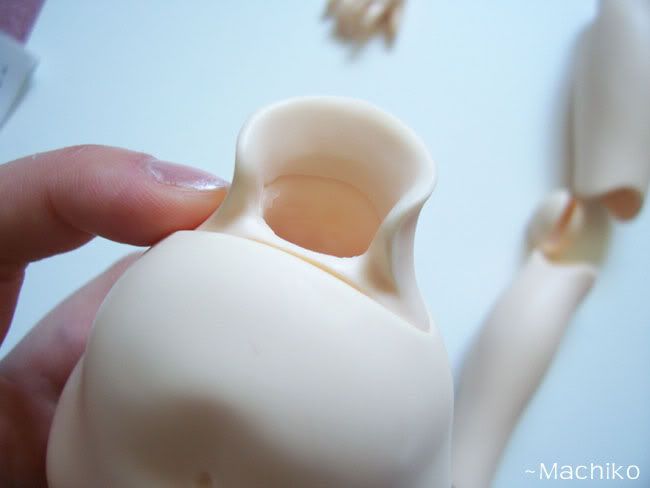
It was strange since none of the new kits also have this piece, or at least it doesn't look like this...
So here she is all laid out with the 'extra' parts. This is what her original kit would have come with. My sister bought extra eyes for me to work with since she didn't like the default ones. The extra pieces that I'll have to work with gluing are the elbow, knee and torso joints.
The extra plastic tubes are for the ear channels and for one in the head cap mechanism.
Let's start the sanding!
Now you don't have to sand the seams, but I think sanding them makes your doll look so much nicer, especially when the seams are very deep...if you can get rid of them, why not?
For the basic sanding process, you will need:
1) Sand paper; super fine, medium and coarse quality. (I use nail buffers for the medium and coarse)
2) Water
3) Paper towel or a towel
4) Face mask. (You don't want to breath in the resin particles)
5) X-acto Knife
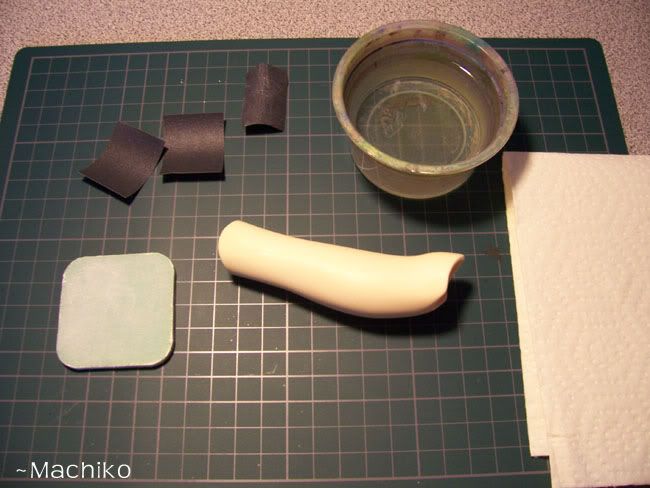
(Small black sheets are the fine quality sand paper, the blue square is my medium quality buffer)
Cutting the sand paper into smaller pieces is easier to work with and also will fit into (in my case) the small water container.
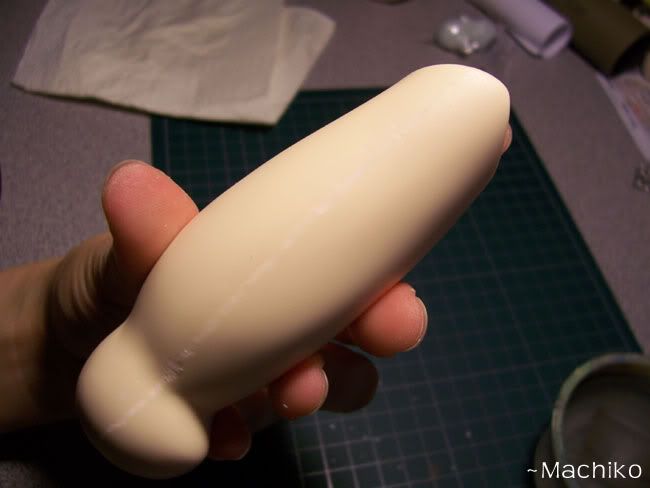
I like taking a leg piece to start working with, but it doesn't really matter which one you start with. In this case, this is her shin piece, and you can see the long groove where the seam is.
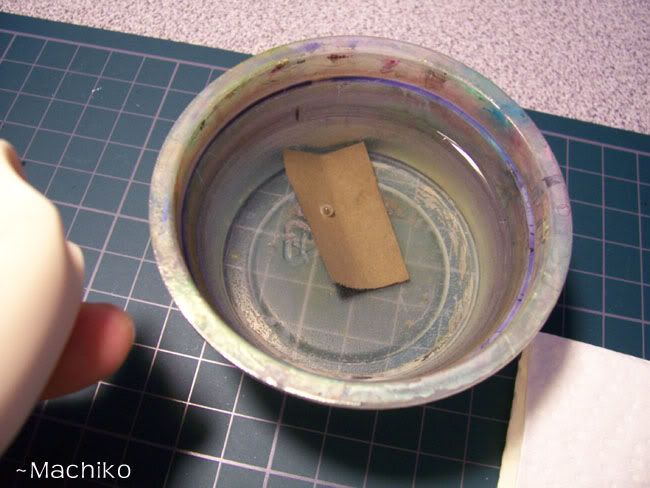
Soak your sandpaper in the water. Water helps to prevent the resin dust from flying everywhere.
Sometimes I like to put water on the seam/piece itself, using more water doesn't hurt.
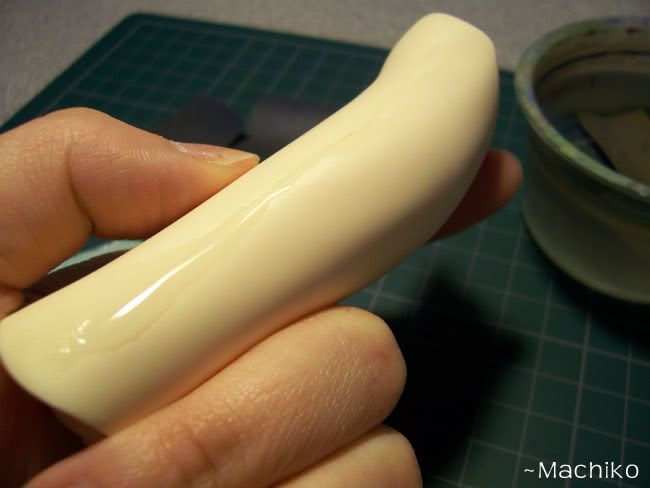
This is the initial sanding with the medium and fine sandpaper. You can see the resin paste that forms, so you take that towel and wipe it away.
If the seam isn't that drastic, you can just keep sanding until the surface is completely smooth to your liking, and you'll have something like this:
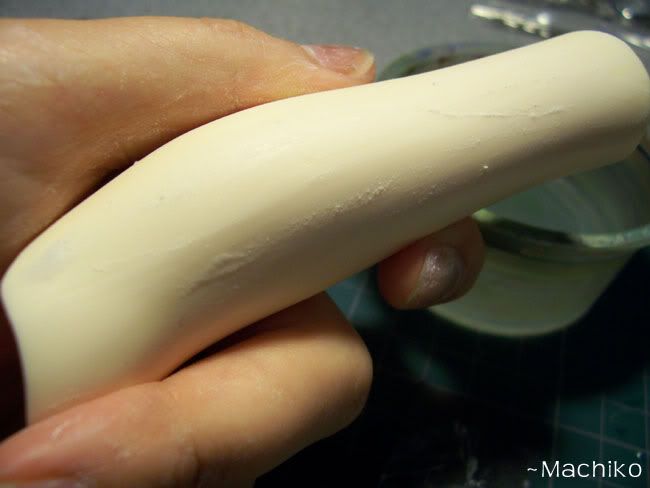
If the grooves are too thick because of the way it was cast, it will take forever for you (and me) to sand it down with fine sand paper.
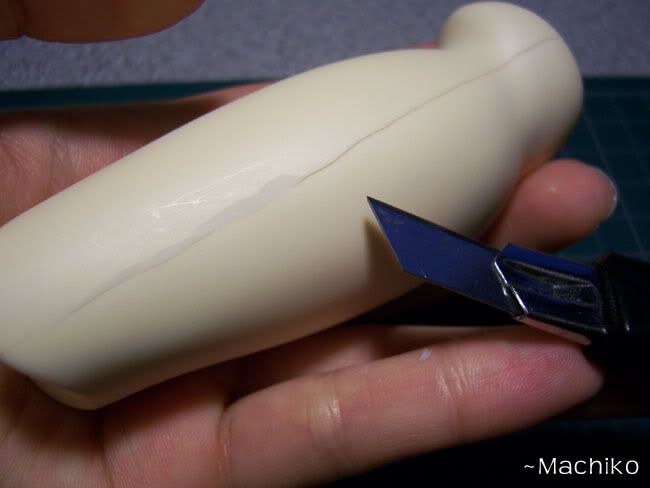
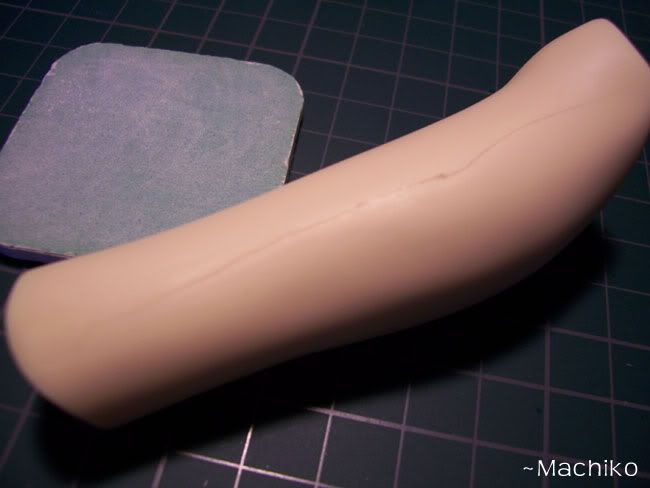
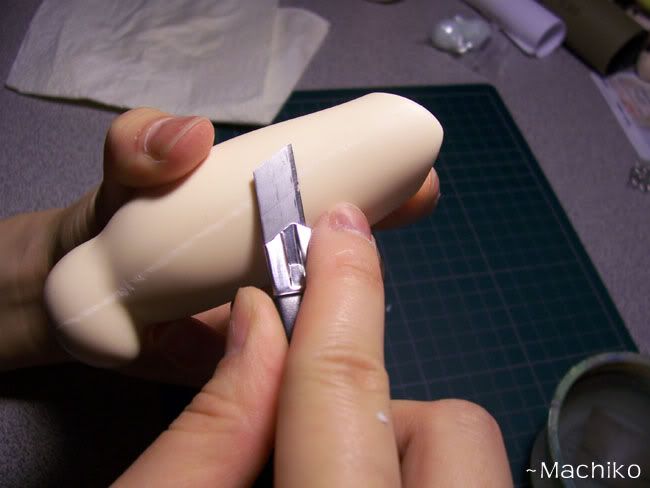
That's when Mr. X-acto knife comes in. :) Use one with a nice sharp edge since you won't want to be taking very large chunks of resin out of any of the pieces. You just want to get that seam off. In the picture above, I started the process of cutting away the seam while the other half is what was originally there.
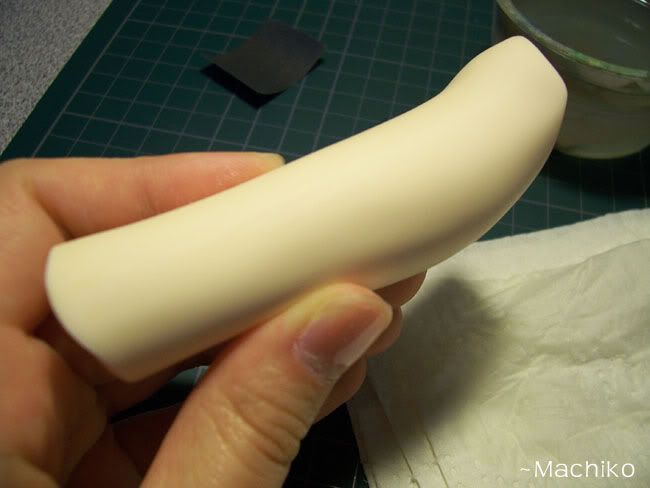
I noticed when I started cutting and sanding that the original color of the resin was showing through. Although it has been stored in it's original packaging it has naturally yellowed a bit, however it's nothing drastic. In this picture above, the seam has been cut away, and it's time to sand it.
I decided to touch up an area as it didn't feel as smooth as I wanted it to be.

Sand, Sand, Sand away!
When you start sanding, the resin will blend into itself. However since these pieces have aged, I had to sand the whole piece to create a uniform color. I immediately sent a message to my sister telling her she owed me big time for all the elbow grease I was using for this!
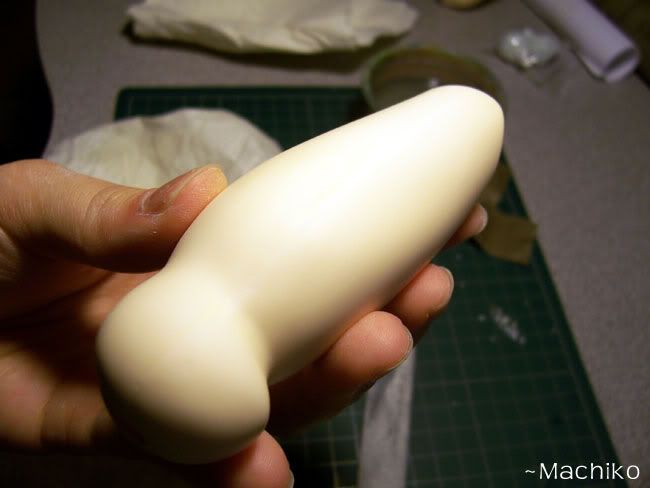
And that's how that piece looked when finished.
Every piece has two seams to it, so there are going to be lots of seams to work at, however, if one side has a heavy seam, means the other side has very minimal or a very small one. Some parts are cast equally, so they have equal seams, and some aren't, that's why you get the large/minimal seam combination. This happens in all Volks kits, so it is not exclusion for this doll alone.
Another trouble I noticed with this particular casting was the excess resin!
Look...an extra appendage.
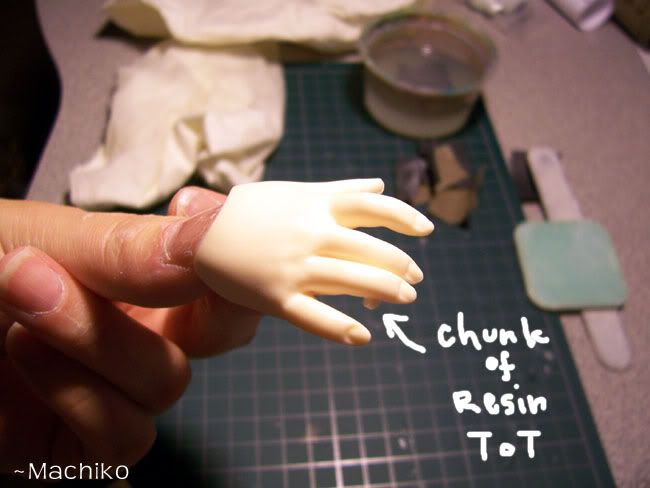
However, it's an easy fix with a knife.

Just be careful and take your time. Since this is on the hand, you don't want to gash a large chunk out of it.
For fun, I decided to compare the evolution of Volks MSD hands with my other dolls that I own.

Left to right:
1)Miisha 2001 Old Resin kit
2) Myu 2008 Pureskin Kit
3) Ken 2010 Renewal Kit
As you can see, my Myu's hand has yellowed a bit more than the others, but considering she's been sitting on my desk for 3 years, it's only natural. Miisha's and Ken's hands are almost the same resin coloring. :) Very fascinating for me to see.
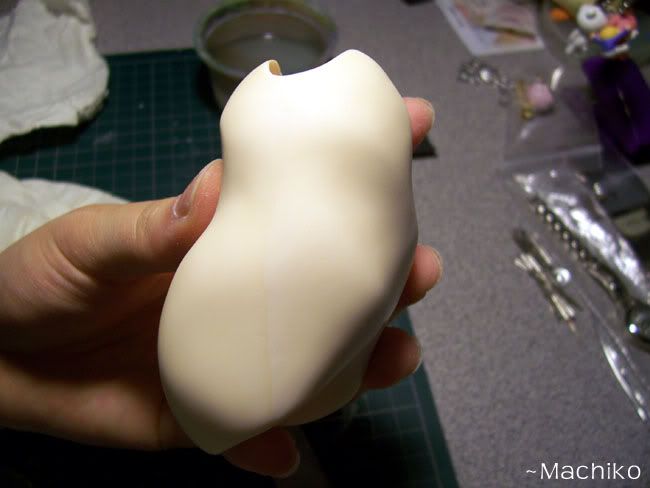
One of the only areas that the resin coloring was really noticeable was the abdomen piece. The seam along the edge, unless I kept sanding it, I just couldn't get it to blend nicely. But I figured...she's going to be clothed and who's going to see this on a normal basis? No one really, I showed my sister afterwards, and she was fine with it. It's very subtle but I adjusted the settings a bit on the picture to show the difference.
***This is the time when you coat your pieces with Mr. Super Clear or ZM Spray if you want. I used my ZM spray which completely ran out as I finished with the last piece >__<;***
***This is the time when you coat your pieces with Mr. Super Clear or ZM Spray if you want. I used my ZM spray which completely ran out as I finished with the last piece >__<;***
Come back inside after you're done with the coating. Next step..!
The Power Tools come out...
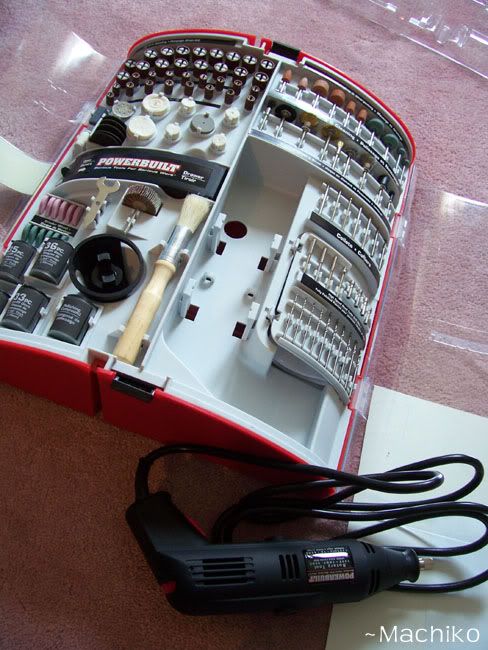
My Dremel kit. It is godly.
Why do I need it? This is why:
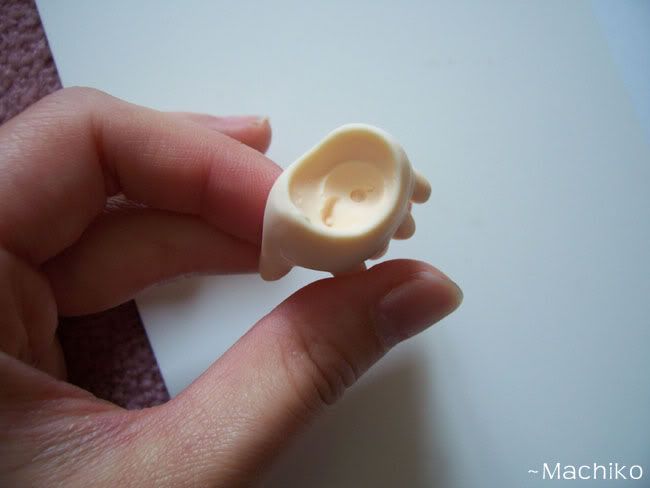
Volks didn't drill a hole for the hands!!! They bothered to do the ones for the feet, but not the hands.
I didn't understand at all.
Disclaimer: The other two kits I built from 2008 and 2010/2011, you don't have to drill anything! It's only for the old school ones I suppose. The new ones the drilling and the screwing is done for you. No hassle with the power tools :)
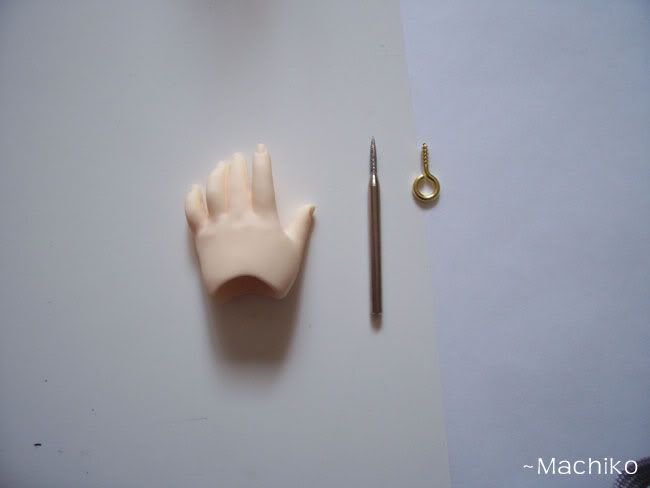
The drill-bit I used to match the size to the screw.
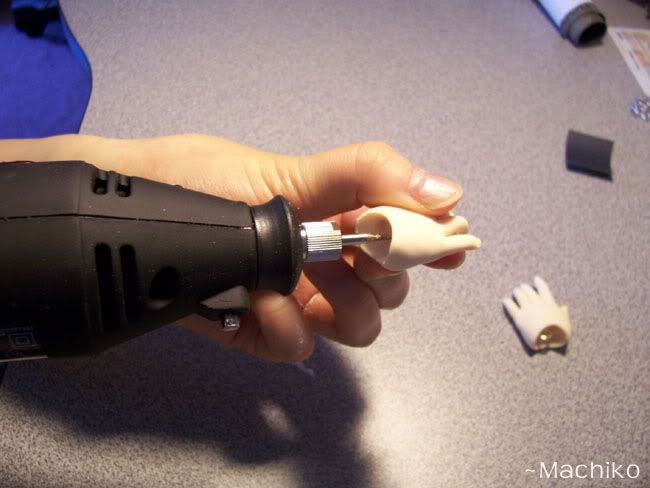
Drilling away. Don't drill to deep if you have to do this. Just make a hole about 3-4mm deep.
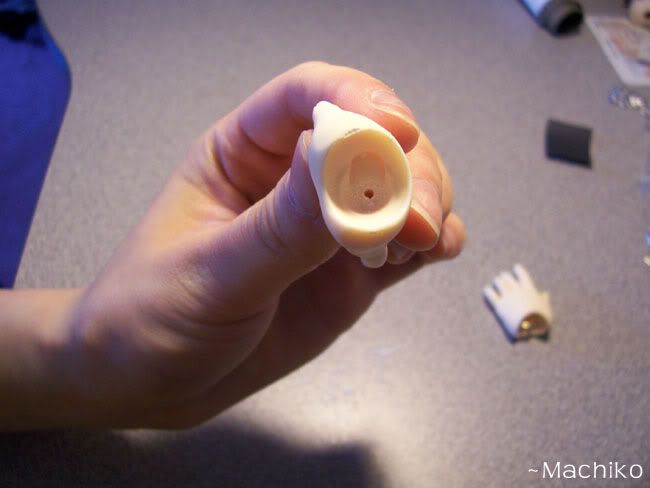
Yay for power tools!
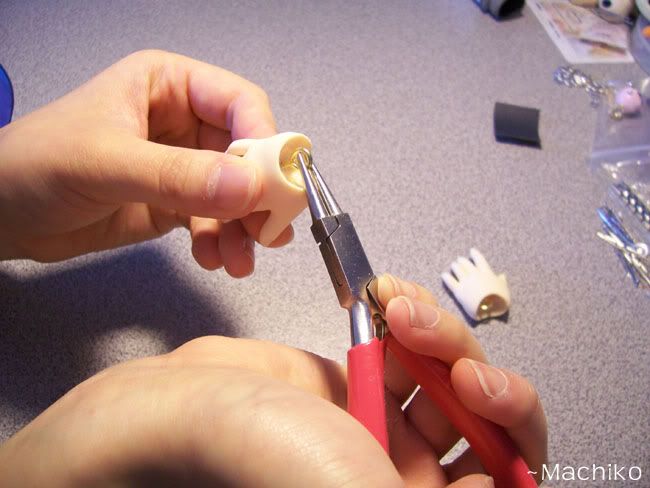
Using a pair of pliers to help me put in the screw. You want to leave about a 2-3mm gap between the screw head and the hand, so don't twist it all the way down or else it's going to get difficult later on to string up the hands. (Same applies for the feet, I just didn't bother taking pictures of it since it was a same procedure)
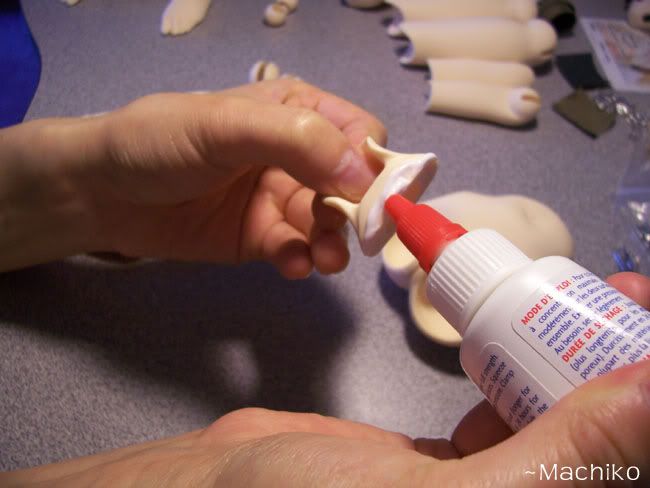
 Advertising for my favorite glue. Works great on most things, the booklet doesn't specify on what type of glue to use (maybe some special one by Volks..), but this glue works just as well, or superglue.
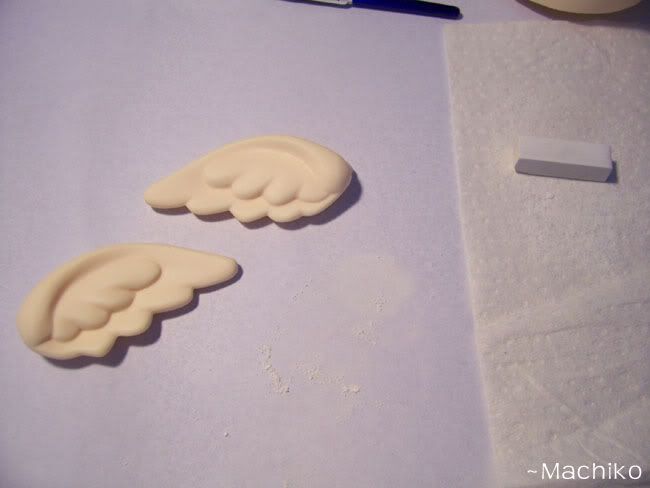
Time to get those random pieces attached!
Time to get those random pieces attached!

So I'm working with the knee piece right now...
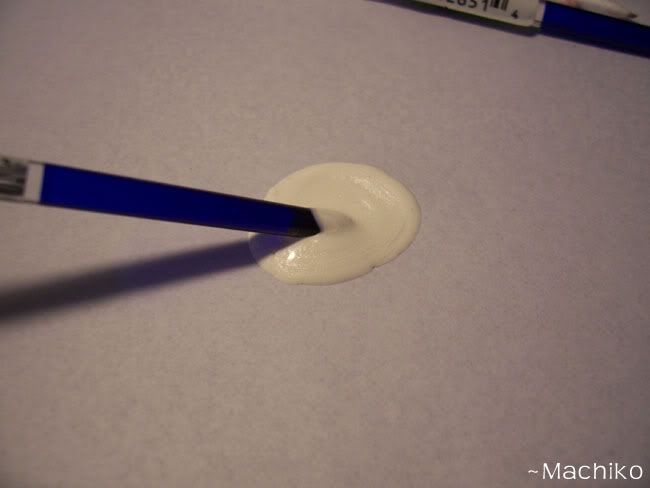
 And when you slot the pieces in place, the excess glue comes out from the sides...
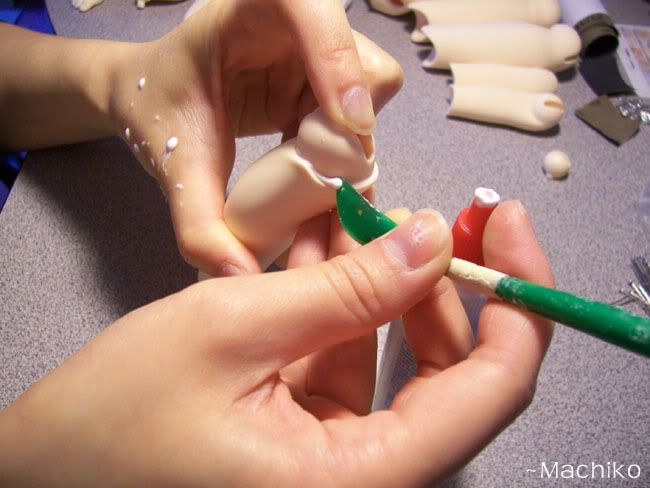 I use this funny scraper tool to scrape away all the excess glue. Whatever you have that has an smooth edge to it that don't damage the resin will work. You don't have to use something fancy. This is just some odd thing I have on my desk with my supplies.
I have a habit of scraping the glue and wiping it on my other hand if you're wondering what are those weird white bumps on my hand. You might want to wipe it on a tissue, but the glue isn't toxic and it washes right off.
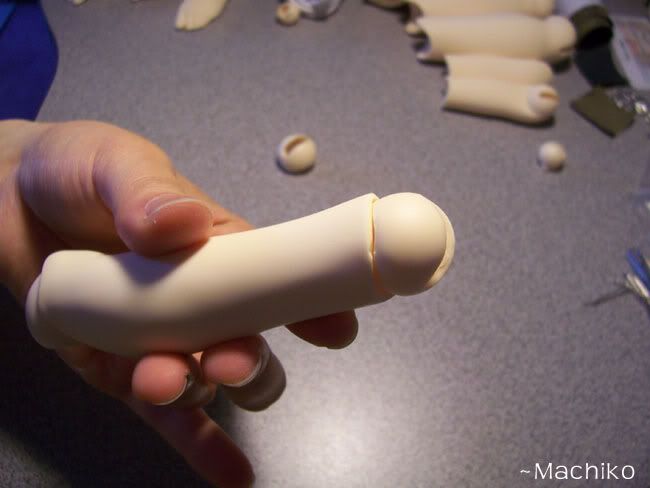
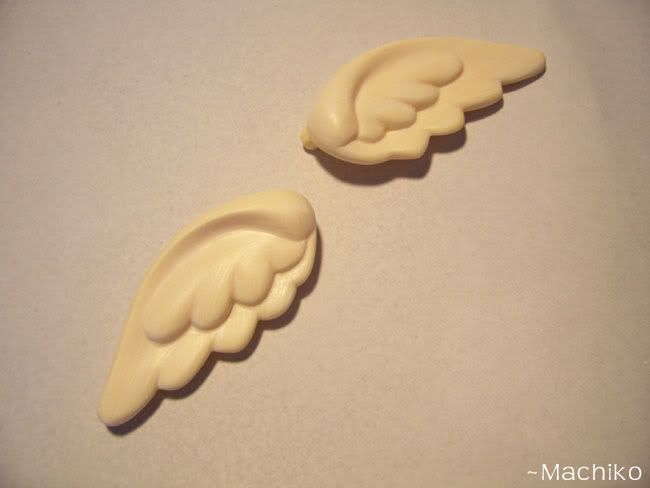
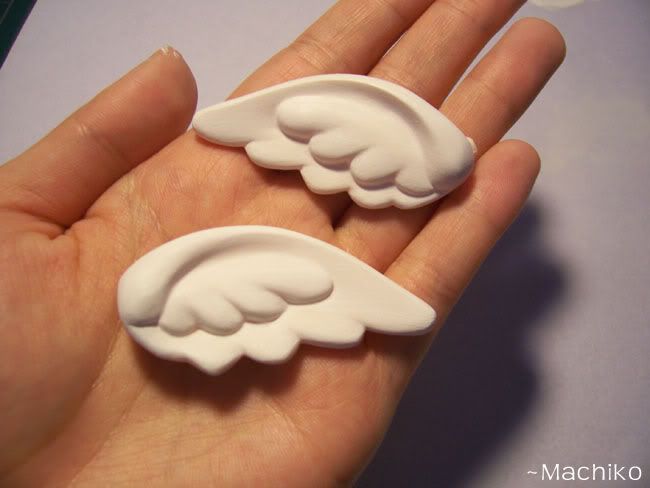
 Camera became unfocused here, but basically once you've scraped the glue away to your liking, it would look like all one piece.
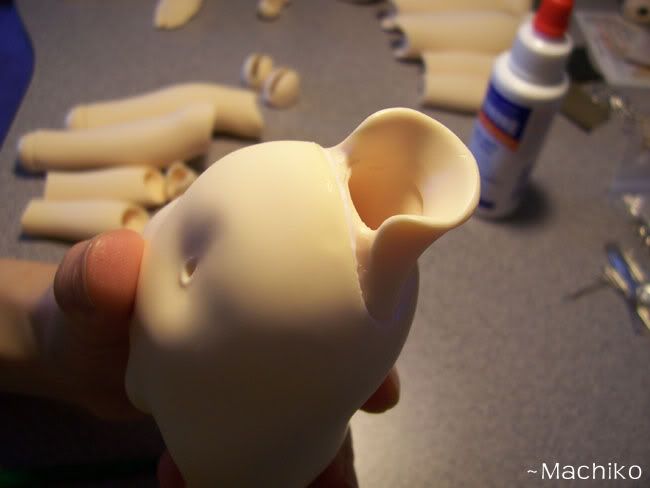
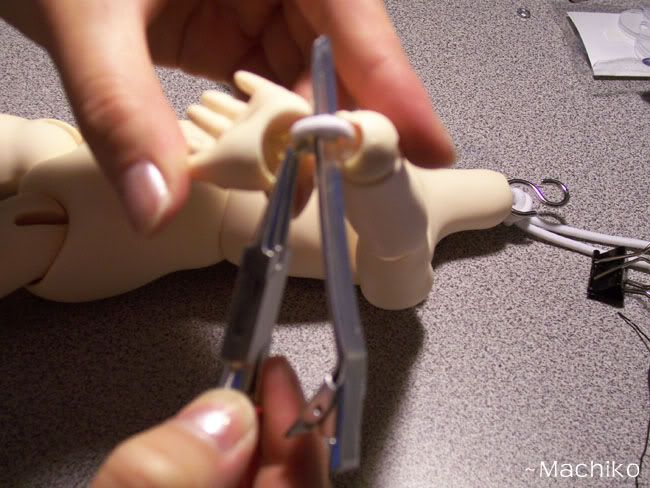
This is the bottom portion of the leg (you'll have a clearer understanding with the picture to come). The piece I'm holding is the ankle joint. It is also supposed to be glued in place, but I found it not necessary. It does pop into place and does stay, however if you feel more comfortable securing and gluing it, by all means, go ahead.
 When that piece is attached on, that's how it looks.
I decided to un-string my newest Volks MSD kit (2011) to show you the difference 10 years makes.
 The older doll doesn't come with the S hook system, so it makes it difficult to change their feet and hands. There is effectively no ball joint on with the old one either. The posibility is limited with the older model, but it isn't anything that is unnatural. You can still move the feet from side to side and up and down. (Just not...360.)
You can also see the feet sculpts are funny! The older one almost looks like it doesn't have a pinky toe. I thought it was quite amusing.
I have a habit of scraping the glue and wiping it on my other hand if you're wondering what are those weird white bumps on my hand. You might want to wipe it on a tissue, but the glue isn't toxic and it washes right off.
This is the bottom portion of the leg (you'll have a clearer understanding with the picture to come). The piece I'm holding is the ankle joint. It is also supposed to be glued in place, but I found it not necessary. It does pop into place and does stay, however if you feel more comfortable securing and gluing it, by all means, go ahead.
I decided to un-string my newest Volks MSD kit (2011) to show you the difference 10 years makes.
You can also see the feet sculpts are funny! The older one almost looks like it doesn't have a pinky toe. I thought it was quite amusing.
After the gluing was done, I let it set for a couple hours. Went to have some food and watch some TV. I didn't want to start stringing anything when the bond between the pieces were still too weak.
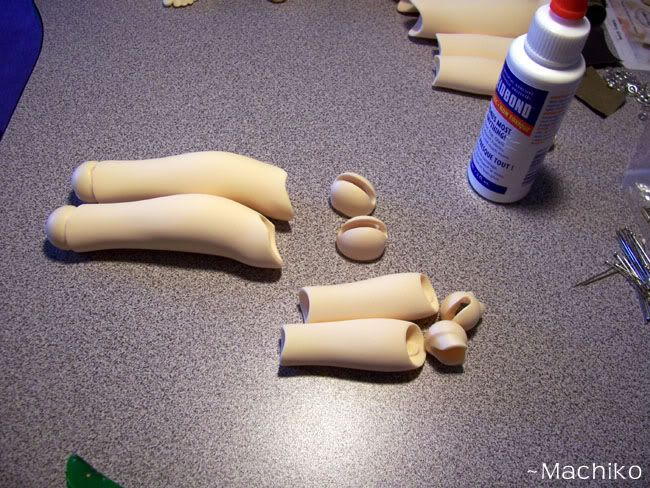
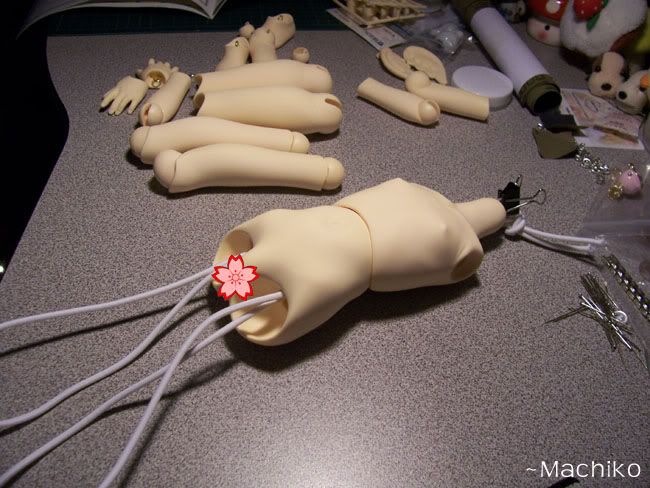
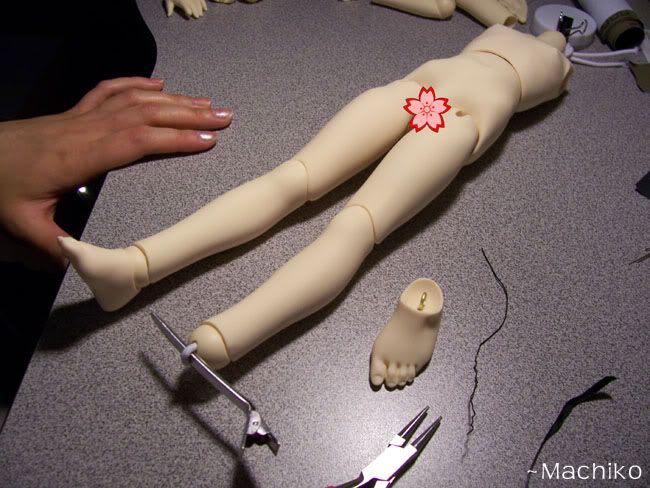
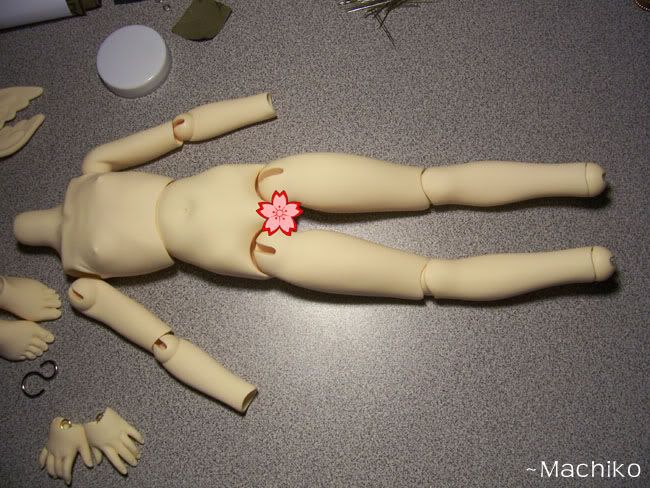 I laid out the pieces to see how it would all work together. She's coming together, how exciting!
Time to string her up!
Time to string her up!
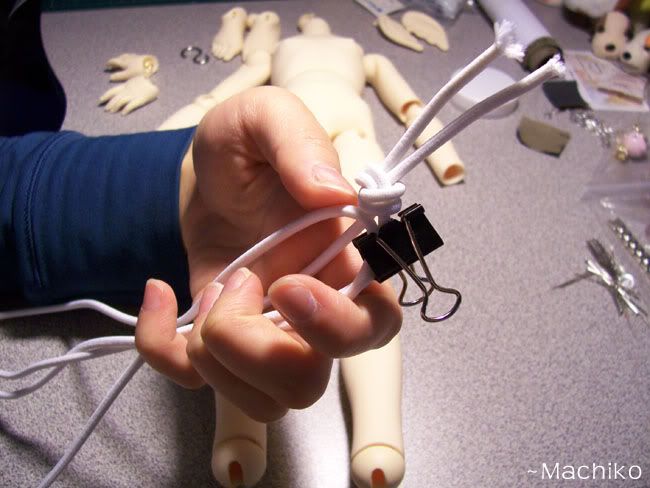


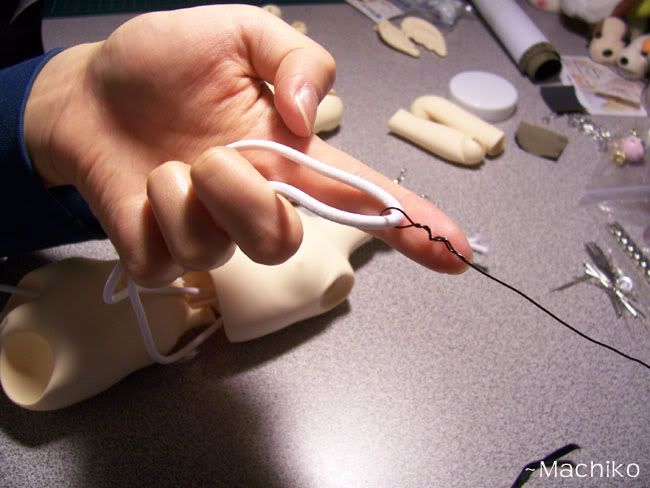

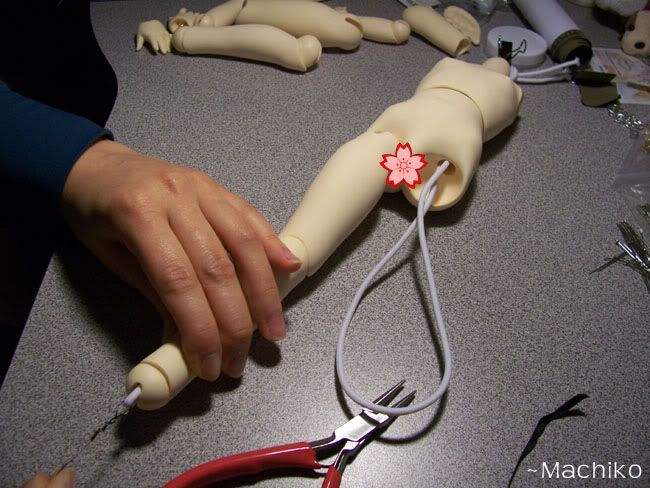
Use the same wire method to attach and put together the legs.
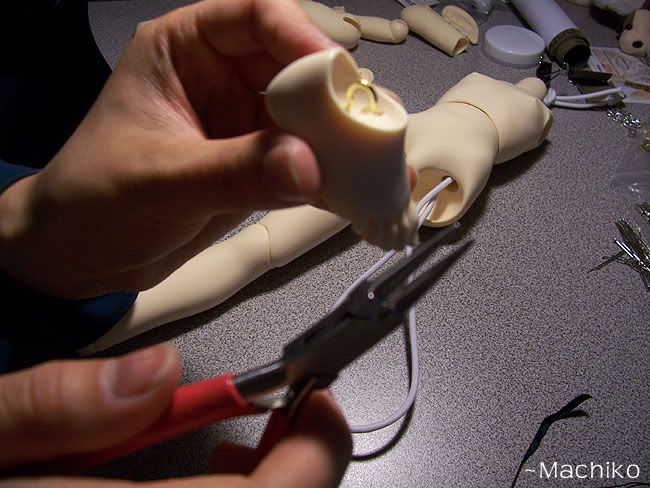
Close opening as much as you can, or you can leave it opened a bit, the tension to the cord should keep the foot in place, but I took no chances and closed it.
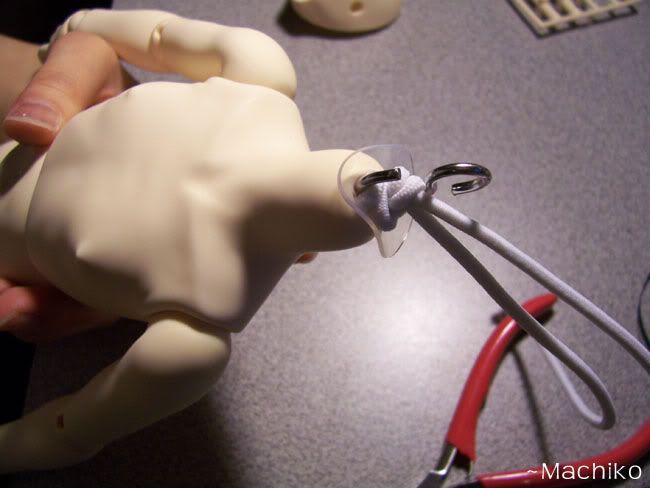
Volks KIPS Installation.

The larger one goes onto the neck and helps a lot with the posing and positioning of your dolls head. This is also an opportune time for you to get rid of the butterfly clip and place the Large S hook in place.
The 4 smaller ones will go into the arm joints.

How many KIPS you want to use if up to you. Depending on the doll, you can your more or less. My girl has 5, while my boy has 3.
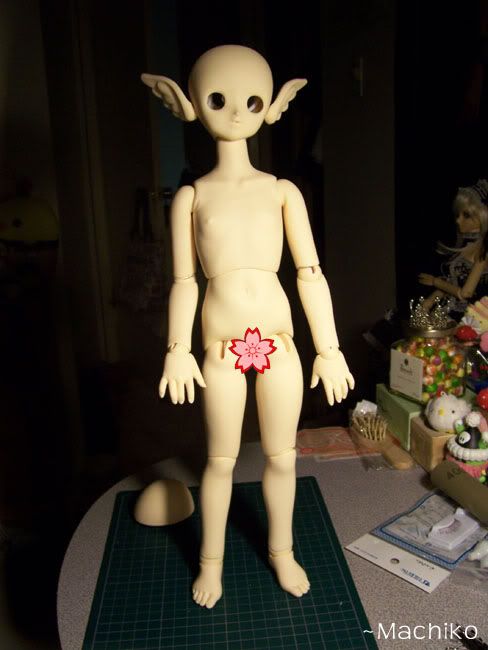
After you tighten the cords to the right tension, the doll should be able to stand...let's test her out.
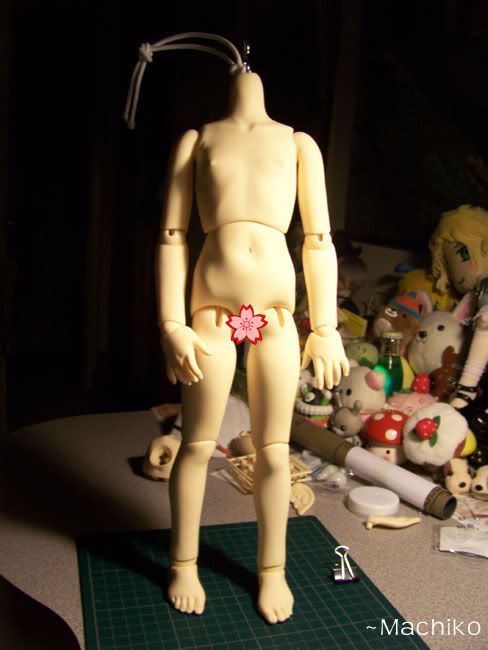
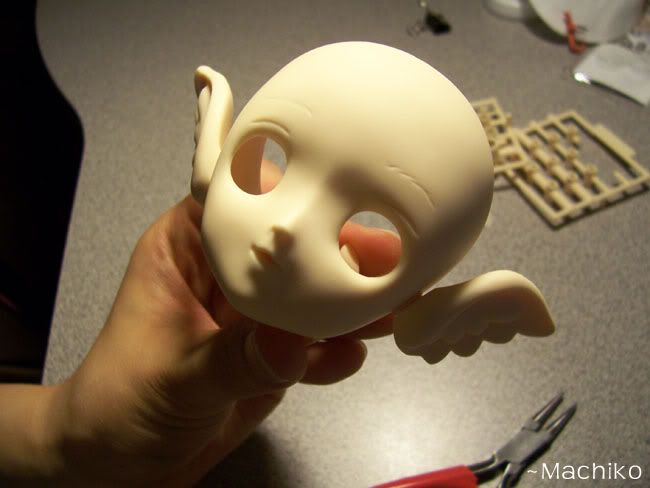
Time to fiddle with the head.
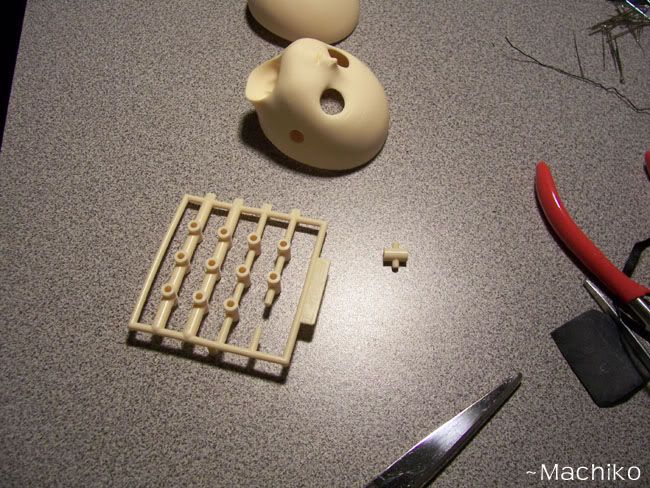
This sheet has a uniform size.

Cut that one tube in half.
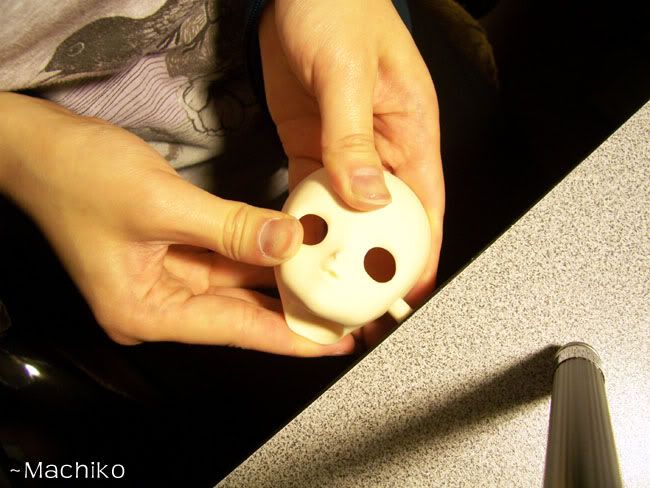
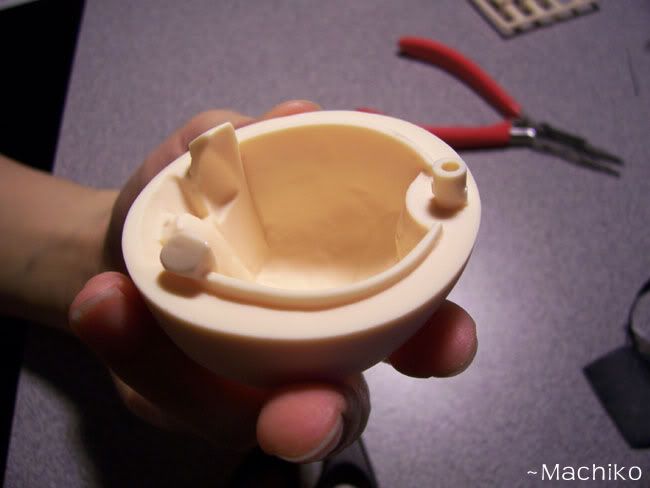
The edge of my desk has rubber siding so it's a bit soft. As long as you have a sturdy enough surface to use, it should work.
***FACE UP TIME!***
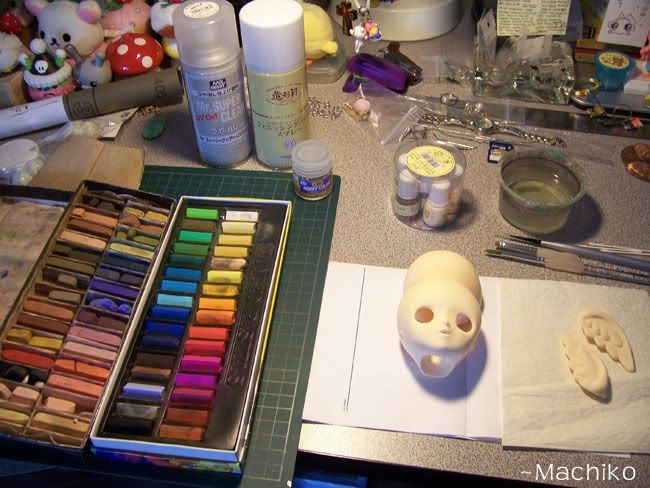
My basic supplies:
1. Acrylic paints (mine are from Volks)
2. Pastels
3. Water
4. Paper towel
5. Scrap paper to test paint colors and blot excess paint.
6. Tamiya Gloss
7. Pencil Crayons (Water color pencils work too)
8. MSC or ZM Spray.
9. Assorted brushes for line work.
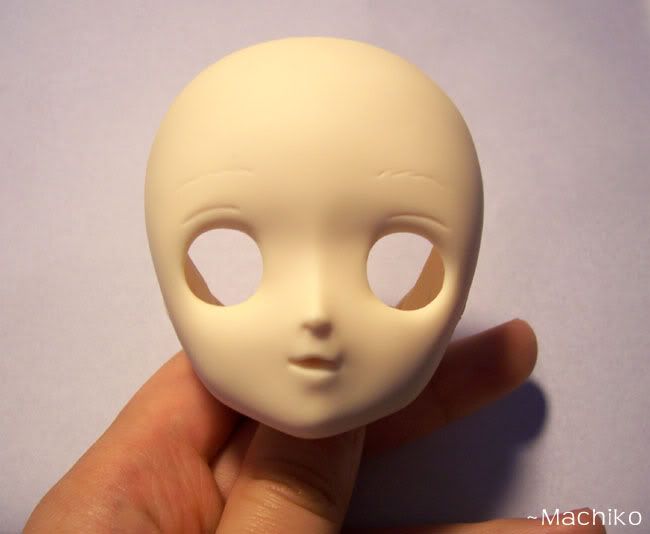
Sealed with MSC UV Cut.

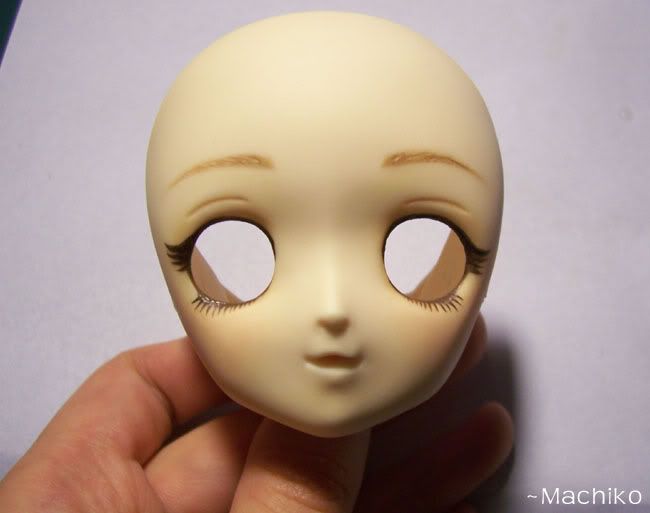
Took some time to get the line work symmetrical.


I really like the end result...
Now it's time to take the first test shots of her before I present her to my sister!

If you've made it far, thanks for reading this! ♥
This concludes my documentation of this build. It was fun and in total took a couple of days. If you ever have the chance to build your own doll, give it a try! I think it's really fun and makes your doll extra special since you customize and build it yourself.
♥ Cheers! ♥
~Machiko